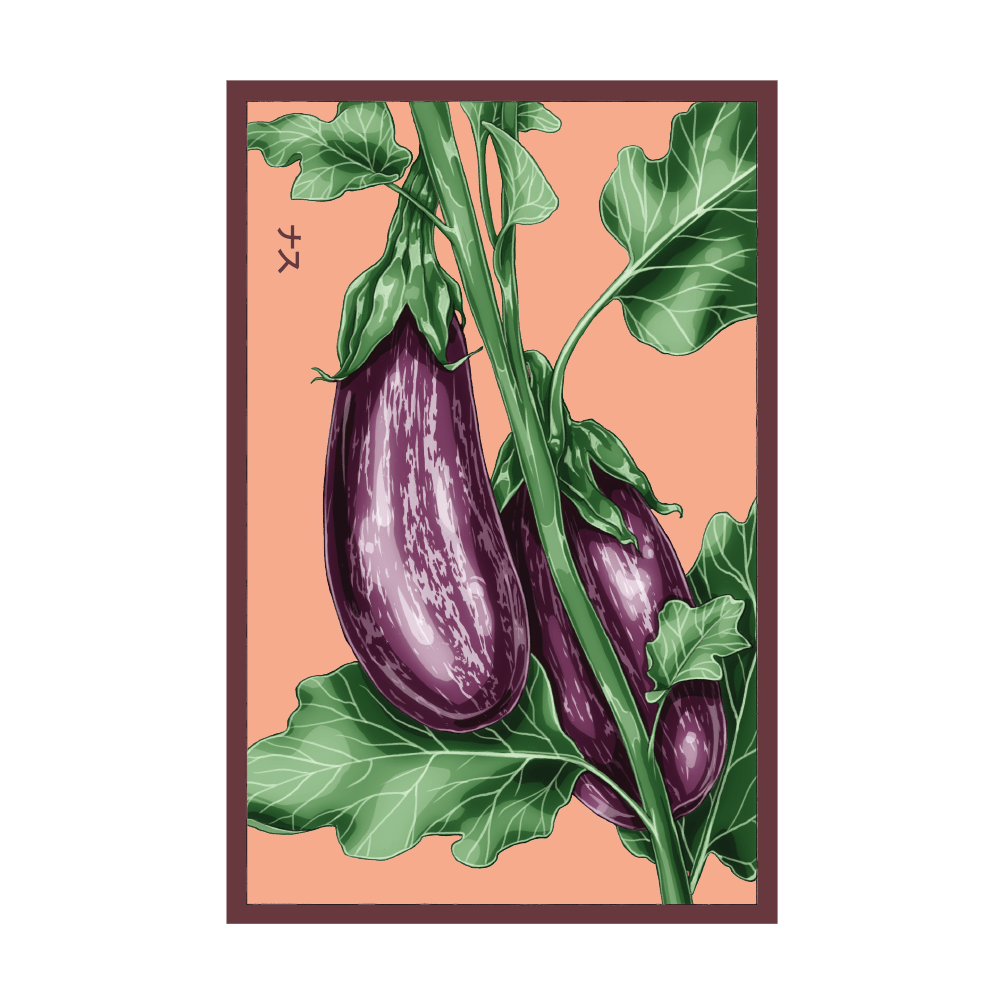
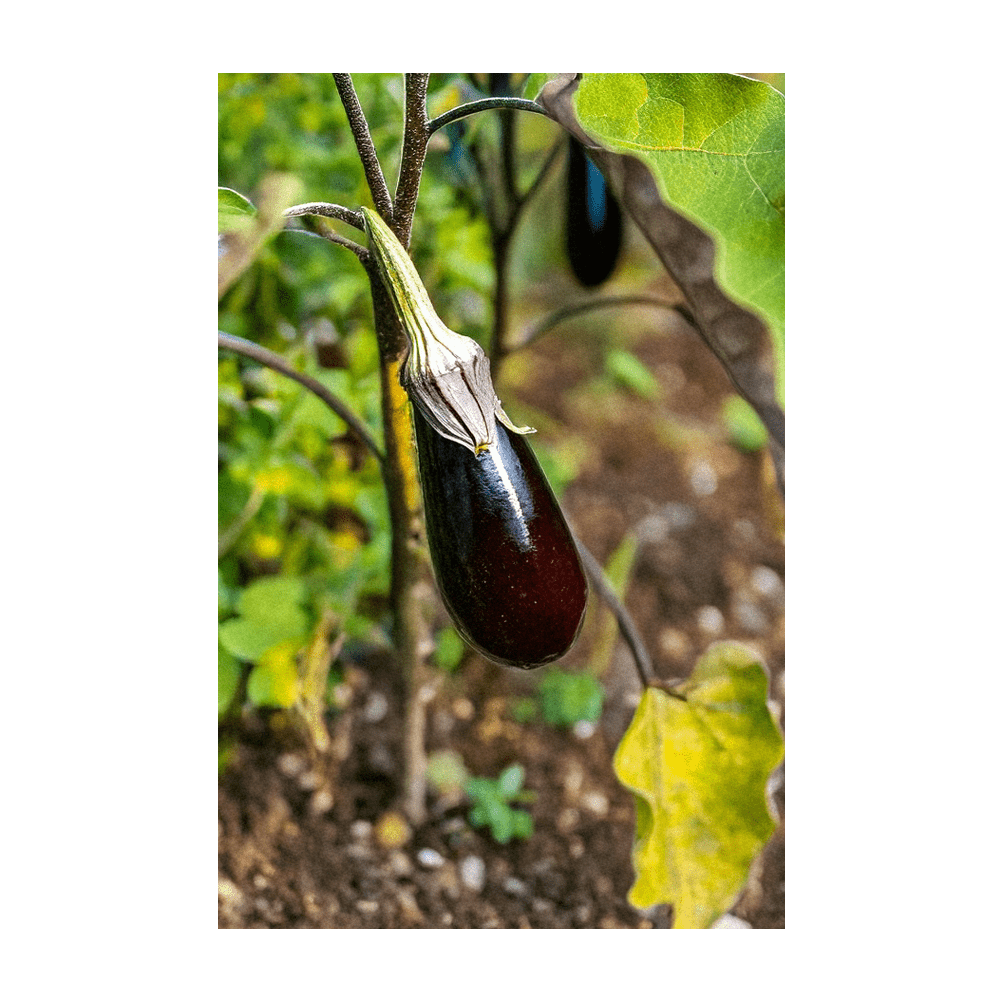
2026 Aubergine Jewel Marble F1 Vegetable Seeds Packet

Shipping Winter 2025

$2.35

2025 Seed Prices

  • Order 1-95 assorted packets for $2.35 each
  • Order 96-499 assorted packets for $1.85 each
  • Order 500 or more assorted packets for $1.65 each

Discover the stunning beauty of Jewel Marble F1 Aubergines - nature's striped masterpieces!

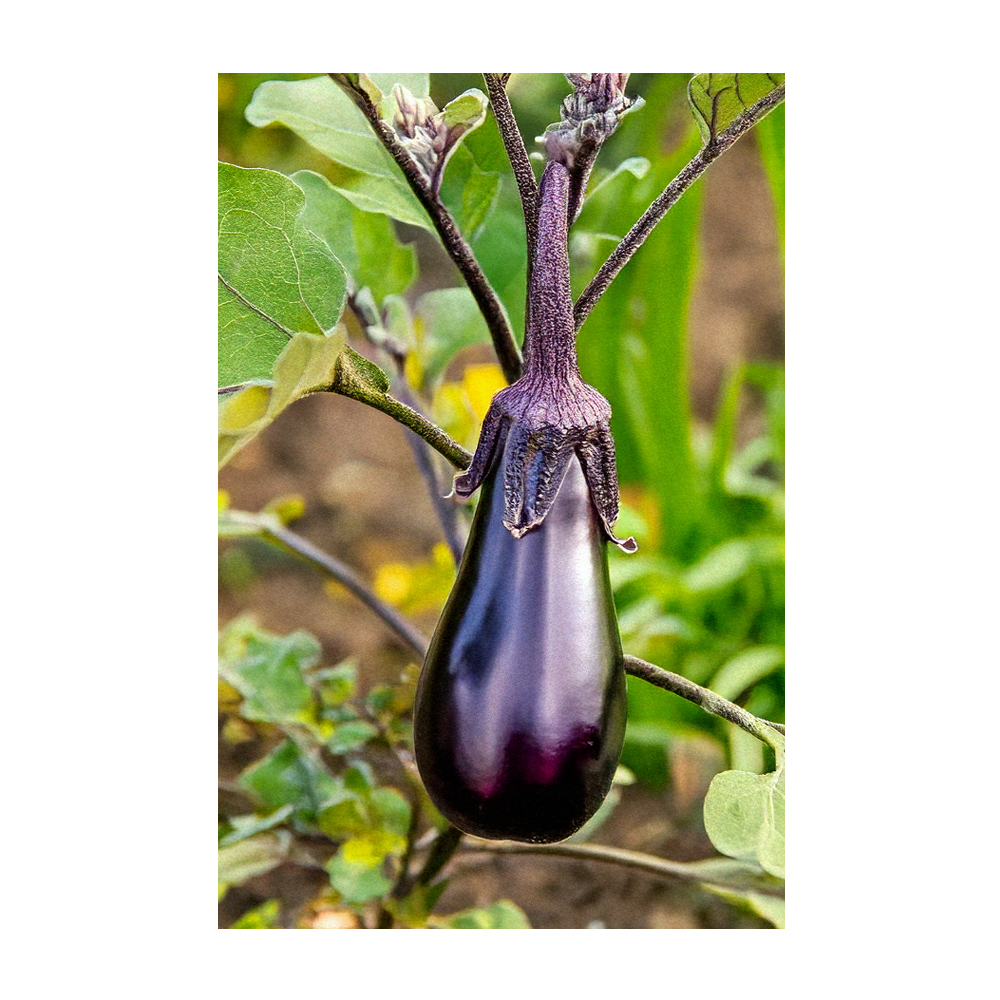
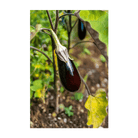
Get ready to grow the most Instagram-worthy eggplants you've ever seen! Jewel Marble F1 (Solanum melongena) produces high yields of versatile small fruits with attractive striped skins and excellent flavor. These aren't your ordinary aubergines - they're like edible ornaments with gorgeous white and purple striped patterns that make every harvest feel like finding buried treasure! The compact, bushy plants are perfect for pots and containers, so even apartment dwellers can enjoy homegrown gourmet eggplants. With up to 15-20 fruits per plant at 10cm long, you'll have enough beautiful, delicious aubergines to impress friends, family, and neighbors all season long!

Product Detail

Order in multiples of: 12

Quick Seed Overview

  • Plant Type: Annual vegetable
  • Genus: Solanum
  • Species: Solanum melongena
  • Plant Height/Width: 2-3 feet tall / 1-2 feet wide
  • Season: Summer
  • Exposure: Full Sun
  • Difficulty: Moderate

SKU: SEAUBE
Barcode: 843458165262

Sun Exposure

Full sun (6-8 hours daily)

Soil

Well-draining, fertile, pH 6.0-6.8

Sow Seed

¼ inch (6mm) deep

Spacing

15-18 inches apart (38-46cm)

Days

70-80 days from transplant (April onwards in ideal conditions)

Why Shido Seeds Are the Best

Limit the number of fruits per plant to 12–15 tops to maintain size and flavor quality. Removing late-setting fruit allows the plant to focus energy on earlier fruits, resulting in larger, firmer, more vibrant Jewel Marble fruits. Also, early staking helps prevent root disturbance and stem breakage.

Complete Growing Guide

This comprehensive guide provides all the information needed to successfully grow from seeds to mature, thriving plants that will provide years of delicate, beautiful foliage for both indoor enjoyment and floral arrangements.

Seed Starting

Seed Starting (Indoor Method - Essential)

  • Timing: Start seeds indoors 6 to 8 weeks prior to the last spring frost date
  • Optimal Sowing Periods: Sow early October to November, or mid-November to December, or late

January to February

Materials Needed:

  • High-quality seed starting mix
  • Seed trays or 3-4 inch individual pots
  • Heat mat or warm location for consistent temperature
  • Grow lights or very bright windowsill
  • Clear plastic domes for humidity control

Sowing Process:

  • Container Preparation: Fill containers with moistened seed starting mix, ensuring good drainage
  • Seed Placement: Sow seeds ¼ inch deep, maintaining proper spacing
  • Environmental Control: Maintain temperature at 20-25°C (70-80°F) for optimal germination
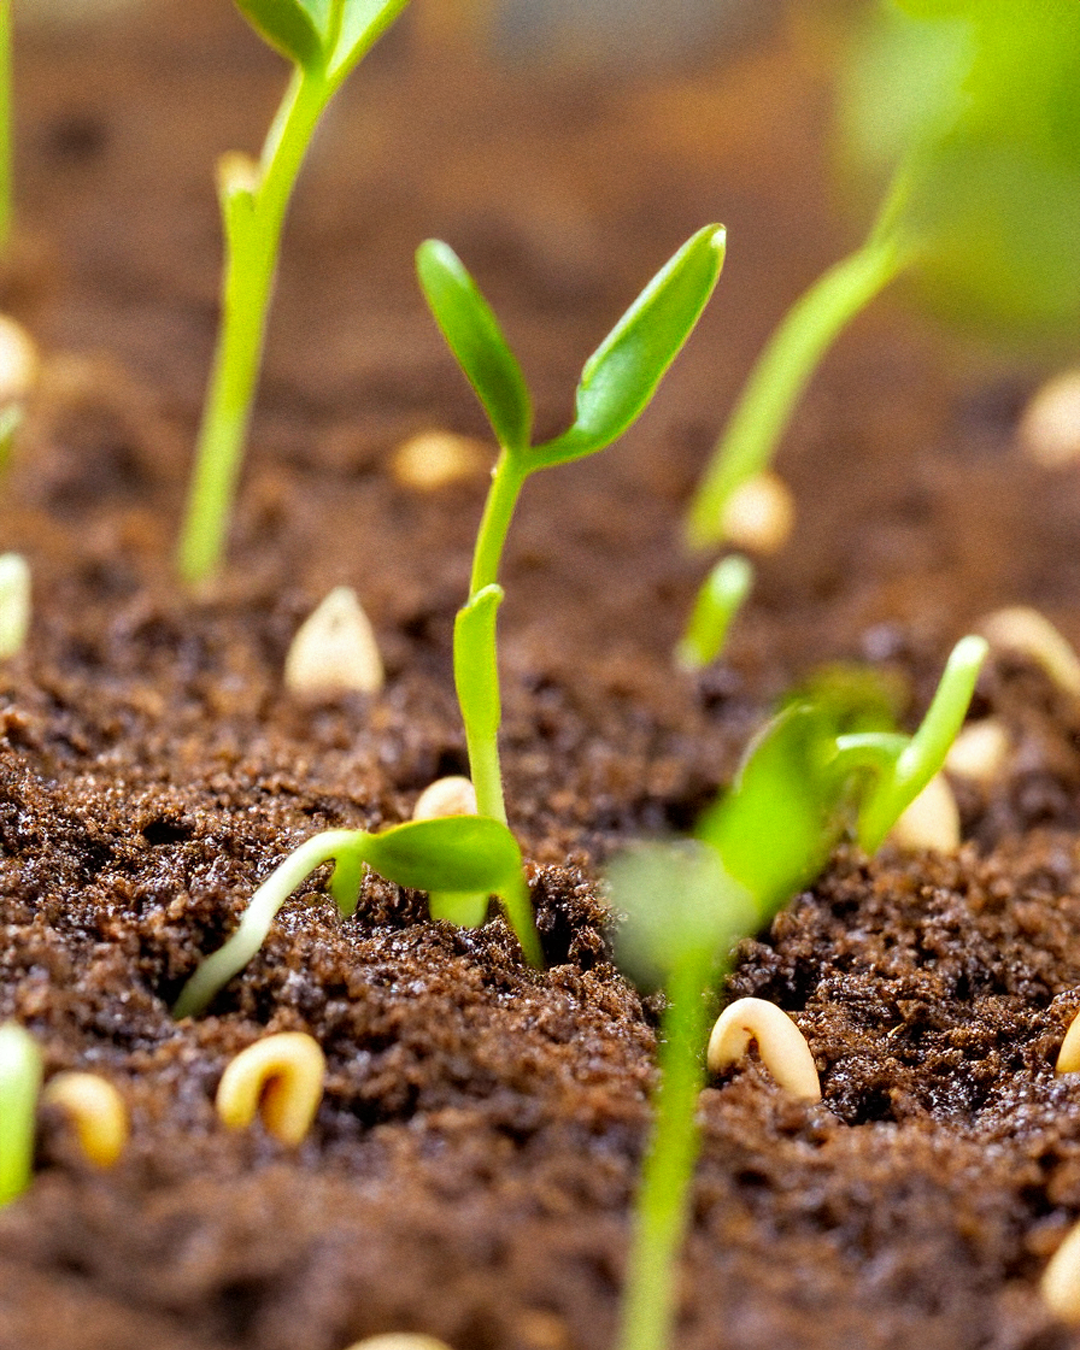
  • Germination Timeline: Seeds germinate quickly at proper temperatures, typically within 10-14 days
  • Moisture Management: Keep soil consistently moist but not waterlogged using bottom watering when possible

Seedling Care and Development

Light Requirements:

  • Provide 14-16 hours of
  • bright light daily using grow lights
  • Position lights 2-4 inches above seedlings, adjusting as plants grow

Gradually introduce to natural sunlight before transplantingTemperature Management:

  • Maintain 70-75°F (21-24°C) during day
  • Allow slight temperature drop at night (65-70°F)
  • Avoid temperature fluctuations which stress seedlings

Fertilizing Young Plants:

  • Begin feeding with diluted liquid fertilizer once first true leaves appear
  • Use quarter-strength balanced fertilizer weekly
  • Gradually increase concentration as plants develop

Transplanting Up:

  • Move to 4-inch pots when seedlings have 3-4 true leaves
  • Handle carefully by leaves, not stems
  • Use quality potting mix with good drainage
  • Hardening Off and Transplanting

Hardening Off Process (7-10 days):

  1. Days 1-2: Place outside in shade for 2-3 hours
  2. Days 3-4: Increase to 4-5 hours with morning sun
  3. Days 5-6: Full day outside in partial sun
  4. Days 7-10: Full day in intended growing location

Transplanting Outdoors:

  • Transplant after nighttime temperatures consistently above 50°F
  • Use 6- to 8-week-old transplants for best results
  • Choose warm, sunny, protected location
  • Space plants 38-46cm apart depending on growing season
  • Container Growing (Highly Recommended)

Container Selection:

  • Compact plants are ideal for pots and containers
  • Minimum 5-gallon capacity for proper root development
  • Ensure excellent drainage with multiple holesUse high-quality potting mix, never garden soil

Container Care:

  • Place in sunny and sheltered patio area
  • Check moisture daily as containers dry faster
  • Fertilize more frequently due to nutrient leaching
  • Provide wind protection to prevent toppling

Outdoor Garden Planting

Site Preparation:

  1. Choose warmest, most protected location in garden
  2. Use mulch to heat the soil and reduce root damage
  3. Work in compost and balanced fertilizer before planting
  4. Consider raised beds in cooler climates for soil warming

Planting Process:

  • Dig holes same depth as containers, twice as wide
  • Water thoroughly after planting
  • Install plant supports at time of planting
  • Apply mulch around plants, keeping away from stems
Long-term Care

Support Systems and Training

Support Requirements:

  • Plants require support despite compact nature
  • Install stakes (3-4 feet) or small tomato cages at planting
  • Use soft ties (cloth strips, plant ties) to avoid stem damage

Training and Pruning:

  • Remove suckers growing between main stem and branches
  • Prune lower branches to improve air circulation
  • Remove leaves touching the ground to prevent disease
  • Support heavy fruit-laden branches to prevent breakageWatering and Fertilizing Management

Watering Best Practices:

  • Provide consistent moisture without waterlogging
  • Water deeply 2-3 times per week rather than daily shallow watering
  • Use drip irrigation or soaker hoses to keep foliage dry
  • Mulch heavily to conserve moisture and regulate soil temperature

Fertilization Program:

  • Early growth: Balanced fertilizer (10-10-10) every 2-3 weeks
  • Flowering/fruiting: Switch to lower nitrogen, higher phosphorus formula
  • Container plants: Weekly liquid fertilizer at half strength
  • Organic options: Compost, fish emulsion, aged manure

Harvesting and Storage

Harvest Timing:

  • Harvest from April onwards in optimal conditions
  • Expect up to 15-20 fruits per plant, 10cm long
  • Harvest when fruits reach mature size but skin is still glossy
  • Harvest eggplants when they have reached mature size

Harvesting Technique:

  • Use sharp pruning shears to cut stems, leaving 1 inch attached
  • Harvest every 2-3 days during peak production
  • Handle carefully to avoid bruising the striped skin
  • Best harvested in morning when temperatures are cooler

Storage Methods:

  • Fresh storage: Refrigerate for 1-2 weeks in perforated bags
  • Freezing: Blanch slices before freezing for 6-8 months
  • Preservation: Excellent for pickling due to small size
  • Immediate use: Best flavor when used within days of harvest

Season Extension and ProductivityExtending Season:

  • Use row covers during cool weather
  • Container plants can be moved to protected areas
  • Successive plantings every 2-3 weeks for continuous harvest

Maximizing Yield:

  • Variety produces high yields of versatile small fruits
  • Regular harvesting encourages continued production
  • Proper fertilization throughout growing season
  • Adequate spacing for optimal air circulation and light penetration
Troubleshooting Common Issues

Poor Fruit Set:

  • Causes: Temperature stress, inadequate pollination, nutrient imbalance
  • Solutions: Maintain optimal temperatures, hand-pollinate if necessary, balanced fertilization

Slow Growth:

  • Causes: Cool temperatures, poor soil, inadequate light, nutrient deficiency
  • Solutions: Improve growing conditions, increase fertilization, ensure full sun exposure

Bitter Fruits:

  • Causes: Water stress, overmaturity, temperature extremes
  • Solutions: Consistent watering, harvest at proper maturity, provide temperature protection

Blossom End Rot:

  • Causes: Calcium deficiency, inconsistent watering
  • Solutions: Maintain consistent moisture, add calcium to soil, proper pH management

Pro Tip

Limit the number of fruits per plant to 12–15 tops to maintain size and flavor quality. Removing late-setting fruit allows the plant to focus energy on earlier fruits, resulting in larger, firmer, more vibrant Jewel Marble fruits. Also, early staking helps prevent root disturbance and stem breakage.

Getting to know your Aubergine Jewel

This hybrid aubergine is a compact plant, making it perfect for small garden beds, raised containers, or patio pots. Its lush green foliage provides a perfect backdrop for its uniquely colored fruit. The eggplants themselves are small, oval-shaped, and about 4–6 inches in length—each fruit showcasing streaks and speckles of deep violet, soft ivory, and minty green, often with a glossy sheen.

The flavor is just as attractive—mild, sweet, and free of bitterness, with a creamy texture that holds well when roasted, grilled, or sautéed.

What it's used for

Culinary Applications:

  • Grilling and roasting for Mediterranean dishes
  • Stuffing due to perfect individual serving size
  • Stir-frying and Asian cuisine preparation
  • Ratatouille and vegetable medleys
  • Baba ganoush and dip preparations
  • Pickling and preserving due to compact size
  • Raw preparation in salads when very young

Curries and Indian cuisine applicationsNutritional Benefits:

  • Good source of dietary fiber
  • Rich in antioxidants, particularly nasunin (anthocyanin)
  • Low-calorie, nutrient-dense vegetable
  • Contains folate, potassium, and manganese
  • Source of chlorogenic acid with anti-inflammatory properties

Garden and Ornamental Uses:

  • Compact plants ideal for container gardening and patios
  • Ornamental value with attractive purple flowers
  • Space-efficient crop for small gardens
  • Conversation starter due to unique striped appearance
  • Educational tool for teaching plant breeding and F1 hybrids

Practical Benefits:

  • Individual serving-sized fruits reduce waste
  • Extended harvest period with continuous production
  • Suitable for farmers markets due to unique appearance
  • Gift potential for fellow gardeners
Growth Requirements

Temperature:

  • Seeds germinate quickly at temperatures between 70° to 90°F (21° to 32°C)
  • Germination optimal at 20-25°C
  • Growing season: 70-85°F (21-29°C) daytime, 60-70°F (15-21°C) nighttime
  • Transplant outdoors after nighttime low temperatures are above 50°F
  • Cannot tolerate frost or temperatures below 50°F (10°C)

Light:

  • Can be grown in a sunny sheltered location outdoors
  • Full sun preferred (6-8 hours direct sunlight daily)
  • Minimum 6 hours of direct sunlight for optimal fruit productionProtection from strong winds essential
  • Morning sun particularly important for flower and fruit development

Soil:

  • Well-draining, fertile soil with good organic content
  • pH range: 6.0-6.8 (slightly acidic to neutral)
  • Rich, loamy soil with good moisture retention
  • Avoid heavy clay or waterlogged conditions
  • Raised beds beneficial for drainage and soil warming

Water:

  • Consistent moisture throughout growing season
  • 1-2 inches of water weekly during active growth
  • Deep, infrequent watering preferred over frequent shallow watering
  • Mulching essential to maintain soil moisture
  • Avoid water stress during flowering and fruit development

Space:

  • For early/late crop allow 46cm between plants, for main crop allow 38cm
  • Container minimum: 5-gallon capacity for proper root development
  • Row spacing: 3-4 feet apart for easy access and air circulation
  • Vertical space: 2-3 feet height allowance with support structures
Maintenance

Weekly Tasks:

  • Monitor soil moisture and water deeply when needed
  • Check for pest activity, especially on leaf undersides
  • Harvest mature fruits every 2-3 days during peak season
  • Remove any damaged or diseased plant material

Bi-weekly Tasks:

  • Side-dress with compost or balanced fertilizer during growing season
  • Install plant supports at the time of planting and adjust ties as needed
  • Prune lower leaves touching the ground
  • Monitor and adjust mulch layer

Monthly Tasks:

  • Deep fertilizer application during active growing season
  • Comprehensive pest and disease inspection
  • Soil pH testing and amendment if necessary
  • Evaluate support system effectiveness

Seasonal Tasks:

  • Spring: Seed starting, soil preparation, transplanting
  • Summer: Regular harvesting, pest management, consistent watering
  • Fall: Final harvest, plant removal, soil preparation for next season

Fertilizing Schedule:

  • Pre-planting: Work compost and balanced fertilizer into soil
  • Early growth: Balanced fertilizer (10-10-10) every 2-3 weeks
  • Flowering/fruiting: Lower nitrogen, higher phosphorus and potassium fertilizer
  • Container growing: Liquid fertilizer weekly at half strength

Support and Training:

  • Plants require support despite compact nature
  • Install stakes or small cages at planting time
  • Tie stems loosely with soft materials
  • Remove suckers (shoots between main stem and branches)
  • Prune lower branches to improve air circulation
Pests and Diseases

Major Pests:

Flea Beetles

  • Identification: Flea beetles are potential pests - small, dark beetles that jump when disturbed
  • Damage: Small holes in leaves, particularly damaging to young plants
  • Treatment: Row covers, diatomaceous earth, beneficial nematodes
  • Prevention: Delay planting until plants are larger, reflective mulch

Aphids

  • Identification: Aphids have piercing, sucking mouthparts and are primarily found on leaf undersides
  • Damage: They secrete honeydew, leading to sooty mold development
  • Treatment: Insecticidal soap, beneficial insects (ladybugs, lacewings)
  • Prevention: Avoid over-fertilizing with nitrogen, encourage beneficial insects

Whiteflies

  • Identification: Small white flying insects found on leaf undersides with piercing, sucking mouthparts
  • Damage: Yellowing leaves, stunted growth, honeydew secretion
  • Treatment: Yellow sticky traps, insecticidal soap, beneficial insects
  • Prevention: Proper spacing for air circulation, avoid over-watering

Colorado Potato Beetles

  • Identification: Colorado potato beetles are potential pests - yellow and black striped beetles
  • Damage: Defoliation of plants, particularly severe on young plants
  • Treatment: Hand-picking, Bt sprays, beneficial insects
  • Prevention: Crop rotation, remove plant debris, encourage natural predators

Tomato Hornworms

  • Identification: Tomato hornworms are potential pests - large green caterpillars with horn-like protrusion
  • Damage: Severe defoliation, can strip plants quickly
  • Treatment: Hand-picking, Bt sprays, beneficial wasps
  • Prevention: Regular inspection, companion planting with marigolds

Common Diseases:

Verticillium Wilt

  • Symptoms: Stunted growth, wilting during heat of day, angular yellowing of leaves
  • Treatment: Best prevented by planting disease-resistant cultivars and crop rotation
  • Prevention: Avoid planting in previously affected areas, improve soil drainageBacterial Wilt (Ralstonia solanacearum)
  • Symptoms: Bacterial wilt is a major disease constraining eggplant production
  • Treatment: Remove affected plants immediately, improve drainage
  • Prevention: Avoid overhead watering, use pathogen-free transplants, crop rotation

Phomopsis Fruit Rot

  • Symptoms: Phomopsis fruit rot affects fruit quality and yield
  • Treatment: Fungicidal sprays during fruit development
  • Prevention: Proper spacing, avoid overhead irrigation, remove affected fruits

Cercospora Leaf Spot

  • Symptoms: Caused by Cercospora melongenae fungus, enhanced by wet leaves and high humidity
  • Treatment: Fungicidal sprays, improve air circulation
  • Prevention: Avoid overhead watering, proper plant spacing, remove plant debris

Integrated Pest Management:

  • Fungal diseases cause the most severe economic loss due to widespread incidence
  • Regular monitoring and early intervention
  • Encourage beneficial insects with diverse plantings
  • Proper sanitation and crop rotation
  • Use of resistant varieties when available

Growing Together with Shido

At Shido, everything we do starts with one goal: helping you have a truly successful growing experience. We know that planting seeds is just the beginning — your time, energy, and love for gardening are the real magic. That’s why we make sure the seeds you plant are fresh, full of life, and top-quality. When you choose Shido, you’re planting with confidence. We guarantee it.

Our mission is simple: bring you exceptional varieties of high-quality seeds at prices you’ll love, share detailed sowing and growing tips so you can thrive as a home gardener, and deliver the best customer service in the industry, with a smile.

Our Seed Safety Promise

We donotsell genetically modified seeds — ever. And we don’t use genetic engineering to breed new varieties. Instead, our skilled breeders use traditional, natural crossing methods to create hybrid seeds that are healthy, safe, and packed with potential.

Our Seed Quality Guarantee

At Shido, we believe great gardens start with great seeds — and that means quality comes first. Every seed lot we offer is ensure to generate top-notch germination because your garden deserves nothing less.

To keep our seeds at their peak, we run thorough pathology tests at trusted outside labs. When you open a Shido seed packet, you can trust it’s been nurtured, tested, and approved to give you strong, healthy plants from the very first sprout.

Types of Seeds We Offer

Open-Pollinated & Heirloom Seeds

Our open-pollinated (OP) seeds naturally reproduce through wind, insects, water, or self-pollination. When grown in isolation, they produce true-to-type plants year after year.

Among our OP seeds are treasured heirloom varieties — old favorites that have been carefully passed down for generations. While OP plants can be less uniform than hybrids, we run our Open-Pollinated Project to select the most reliable, flavorful, and beautiful strains.

Non-GMO: What It Means and Why It Matters

GMO (Genetically Modified Organism) is created when scientists alter a plant’s DNA in a lab — often by inserting genes from completely unrelated species — to achieve certain traits, like pest resistance or herbicide tolerance. This is a far cry from natural plant breeding.

At Shido, we believe gardening should stay as close to nature as possible. All our seeds — whether hybrid, heirloom, organic, or open-pollinated — are Non-GMO. They’re bred using traditional methods that respect natural biodiversity, giving you safe, wholesome seeds that grow into plants just as nature intended.

When you plant Shido Non-GMO seeds, you’re choosing purity, sustainability, and peace of mind — along with a garden full of flavor, color, and beauty.

Vacuum-Sealed for Freshness — Good for 10 Years

Every Shido seed packet isvacuum-sealedto lock in freshness and protect your seeds from moisture, air, and pests. This careful packaging not only preserves their quality but also extends their shelf life dramatically. Stored properly in a cool, dry place, our seeds remain viable for up to 10 years— so you can plant them now, next season, or even years down the road. Whether you’re planning a garden this spring or building a long-term seed stash, Shido seeds are ready when you are.


Feed Your Plants Like You Actually Know What You’re Doing

Your plants called—they're tired of your "just water and hope" approach. Give them VerteRx, the premium plant food packed with vitamins and growth boosters. Stronger roots, lusher leaves, and fewer judgmental stares from your fiddle-leaf fig. Because even plants deserve proper nutrition (unlike your diet).

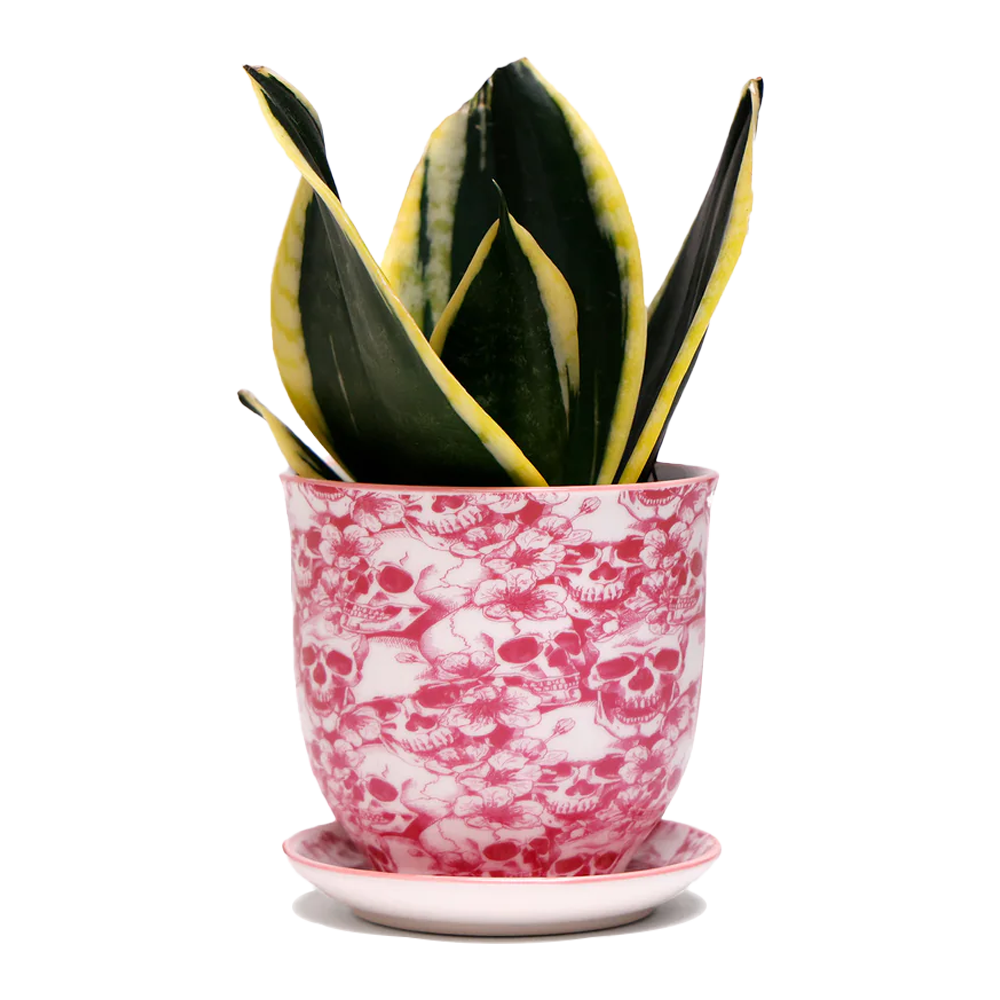
Pretty Pots for Pretty Plants

Your plants work hard to look good—shouldn’t their pots do the same? Choose from our gorgeous flower pots and let your greenery thrive in style. Because plain plastic is just rude.