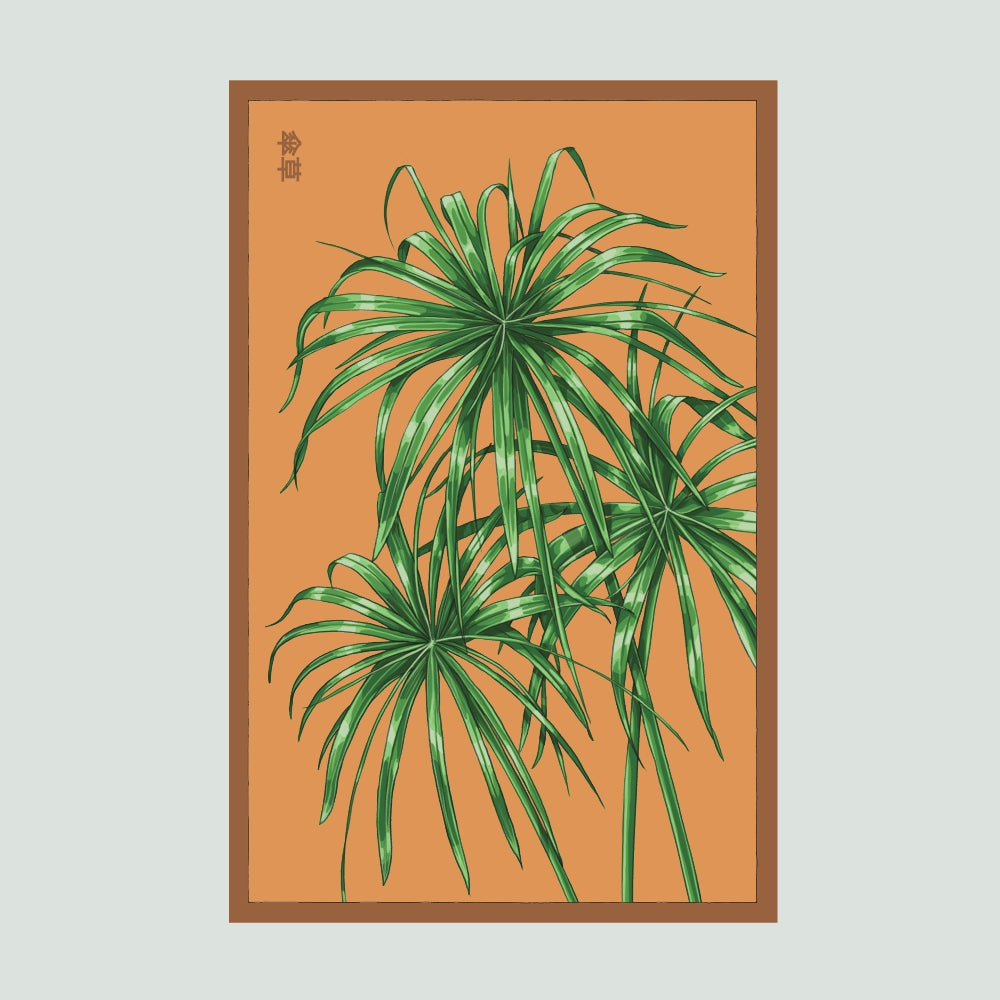
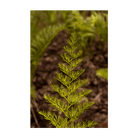
2026 Asparagus Fern Indoor Seeds Packet

Shipping Winter 2025

$2.35

2025 Seed Prices

  • Order 1-95 assorted packets for $2.35 each
  • Order 96-499 assorted packets for $1.85 each
  • Order 500 or more assorted packets for $1.65 each

Transform your space into a cloud of delicate elegance with Asparagus Fern seeds!

Don't let the name fool you – this isn't actually a fern, but it's even better! Asparagus (Asparagus setaceus) creates the most enchanting, feathery foliage that looks like nature's own lace curtains. These magical seeds grow into stunning plants with ultra-fine, needle-like leaves that create an almost ethereal, cloud-like appearance. Perfect for adding a touch of Victorian elegance to your home or garden, this "common asparagus fern" is anything but common! Whether cascading from hanging baskets, gracing your indoor spaces, or adding texture to floral arrangements, these seeds promise to deliver months of dreamy, delicate beauty that will have everyone asking, "What IS that gorgeous plant?"

Product Detail

Order in multiples of: 12

Quick Seed Overview

  • Plant Type: Houseplant
  • Variety: Common Asparagus Fern
  • Species: Asparagus setaceus
  • Plant Height/Width: 1-3 feet tall / 2-3 feet wide
  • Season: Year-round
  • Seed Count: 30
  • Difficulty: Moderate to difficult (slow growth; requires patience)

SKU: SEASPA
Barcode: 843458165095

Sun Exposure

Bright indirect light to partial shade

Soil

Well-draining, organic-rich, pH 6.5-7.0

Sow Seed

¼ inch (6mm) deep

Spacing

12-18 inches apart (30-46cm)

Days

60-90 to mature foliace

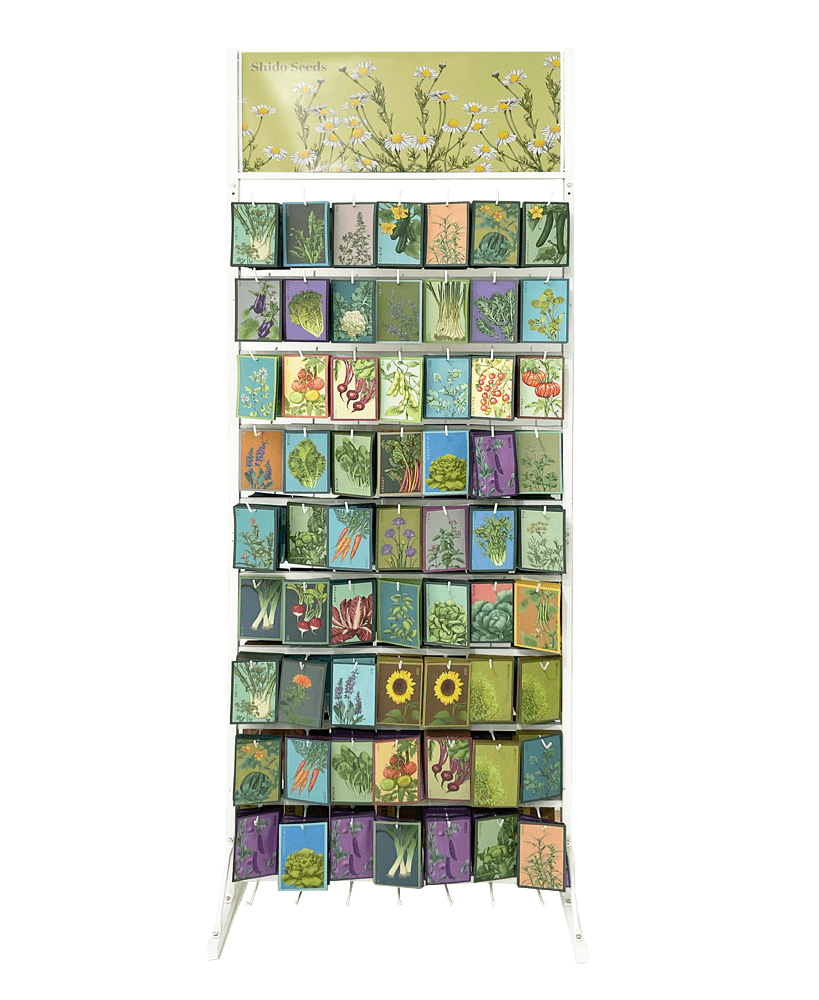
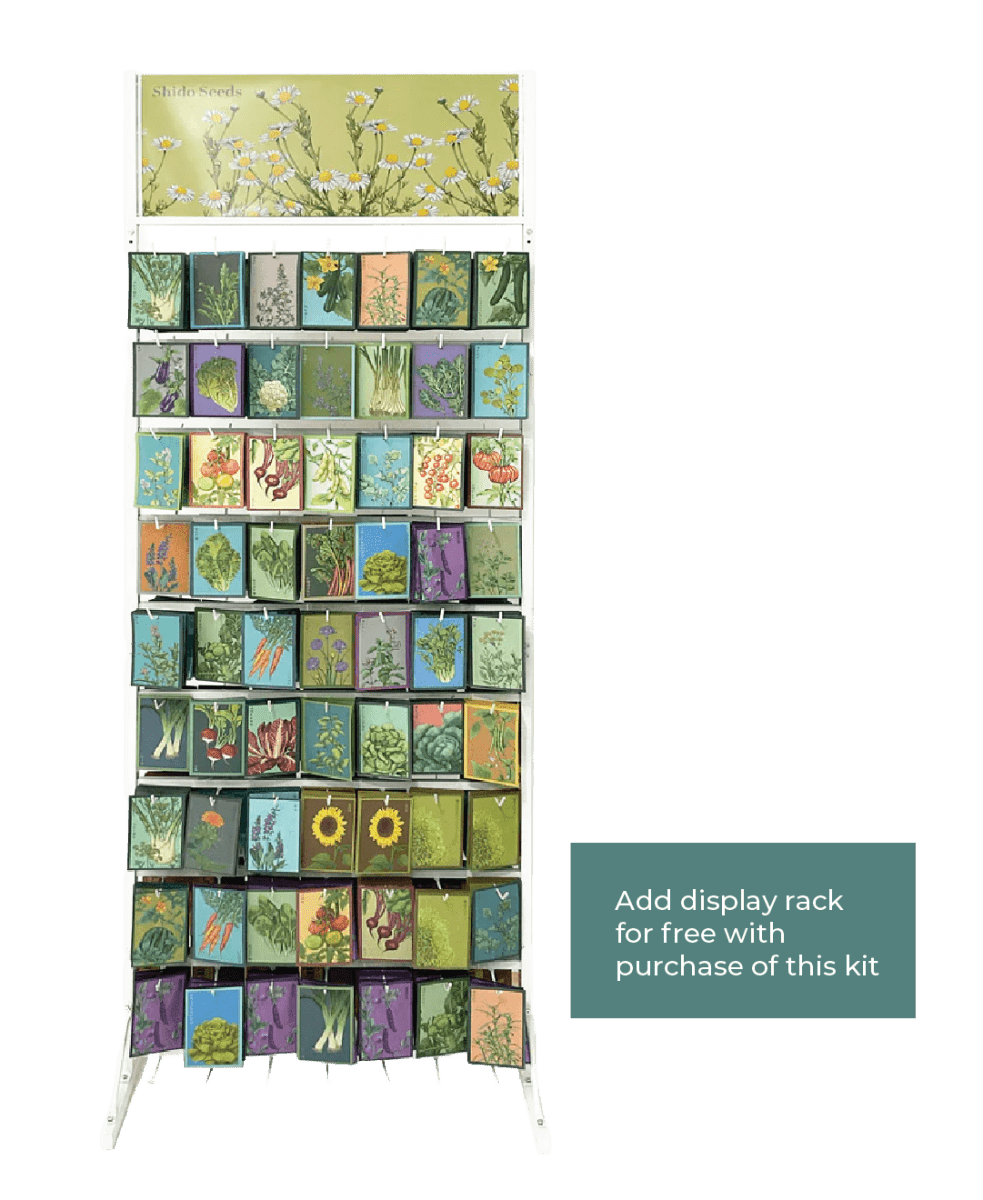
Why Shido Seeds Are the Best
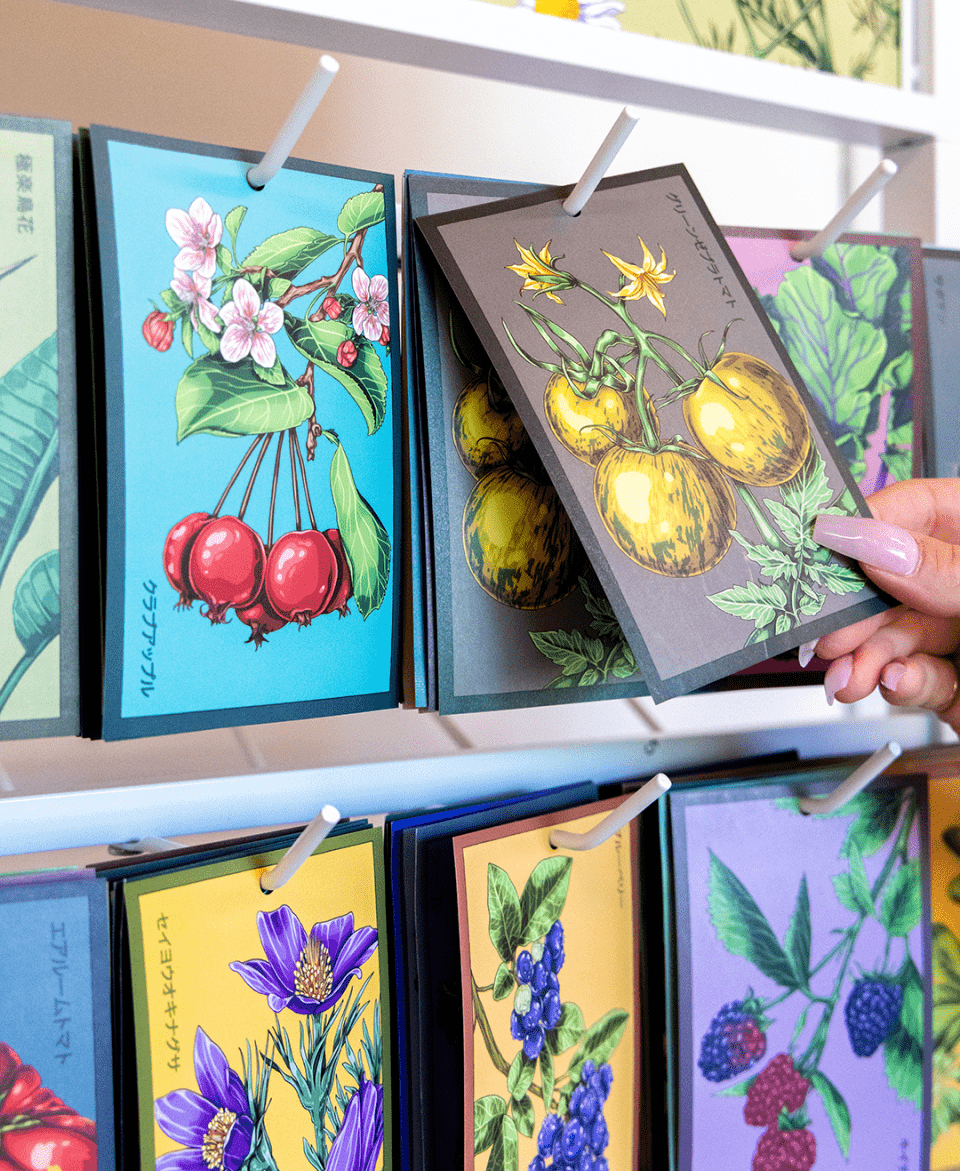
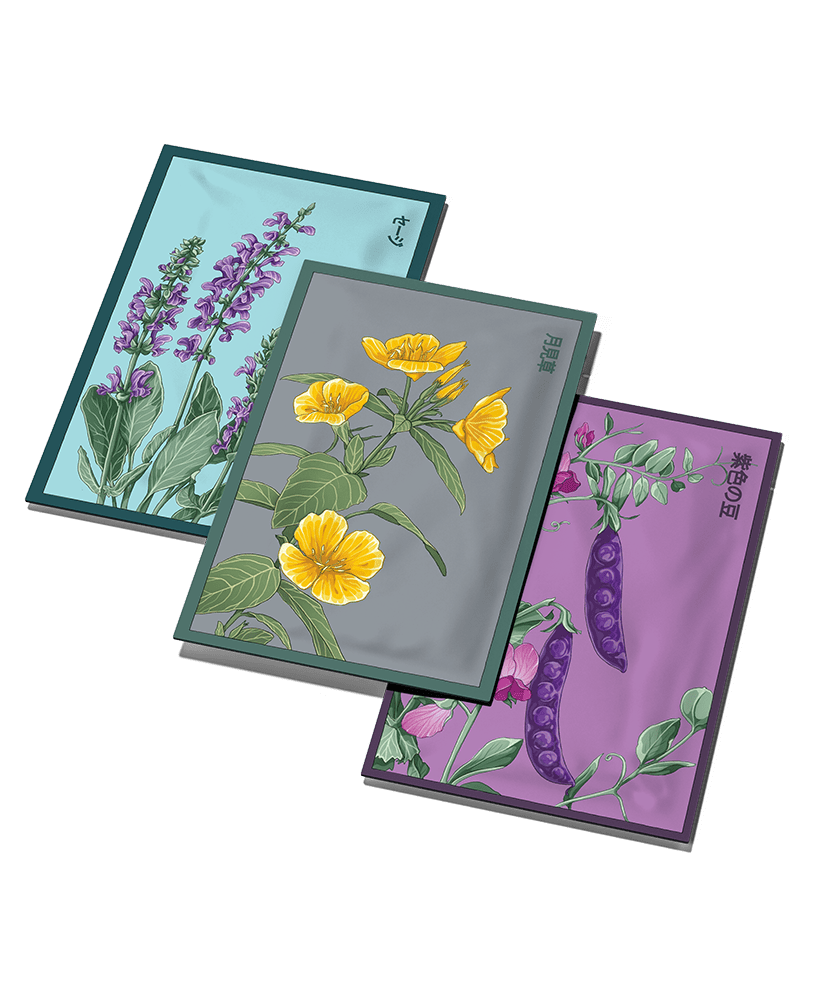
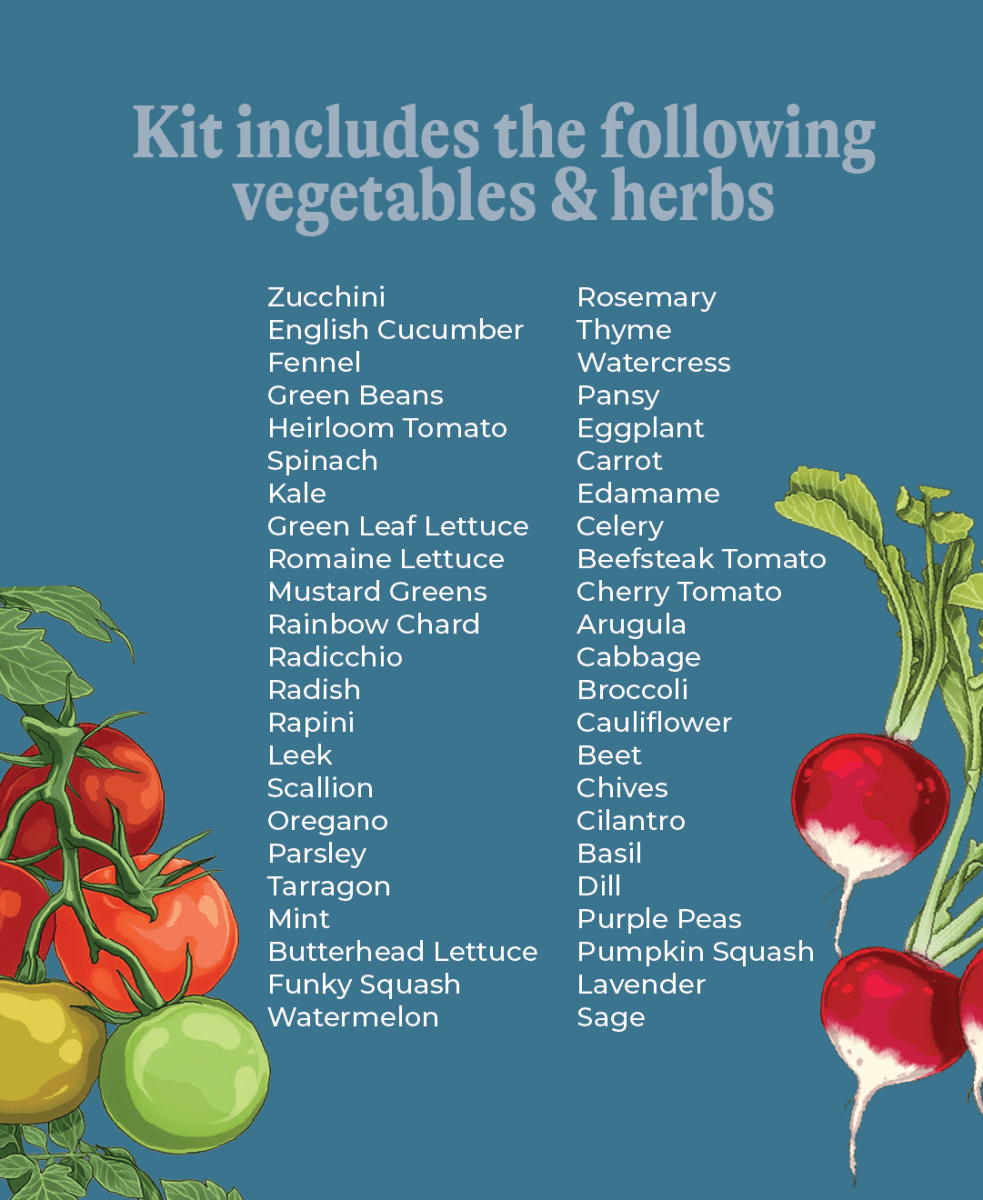
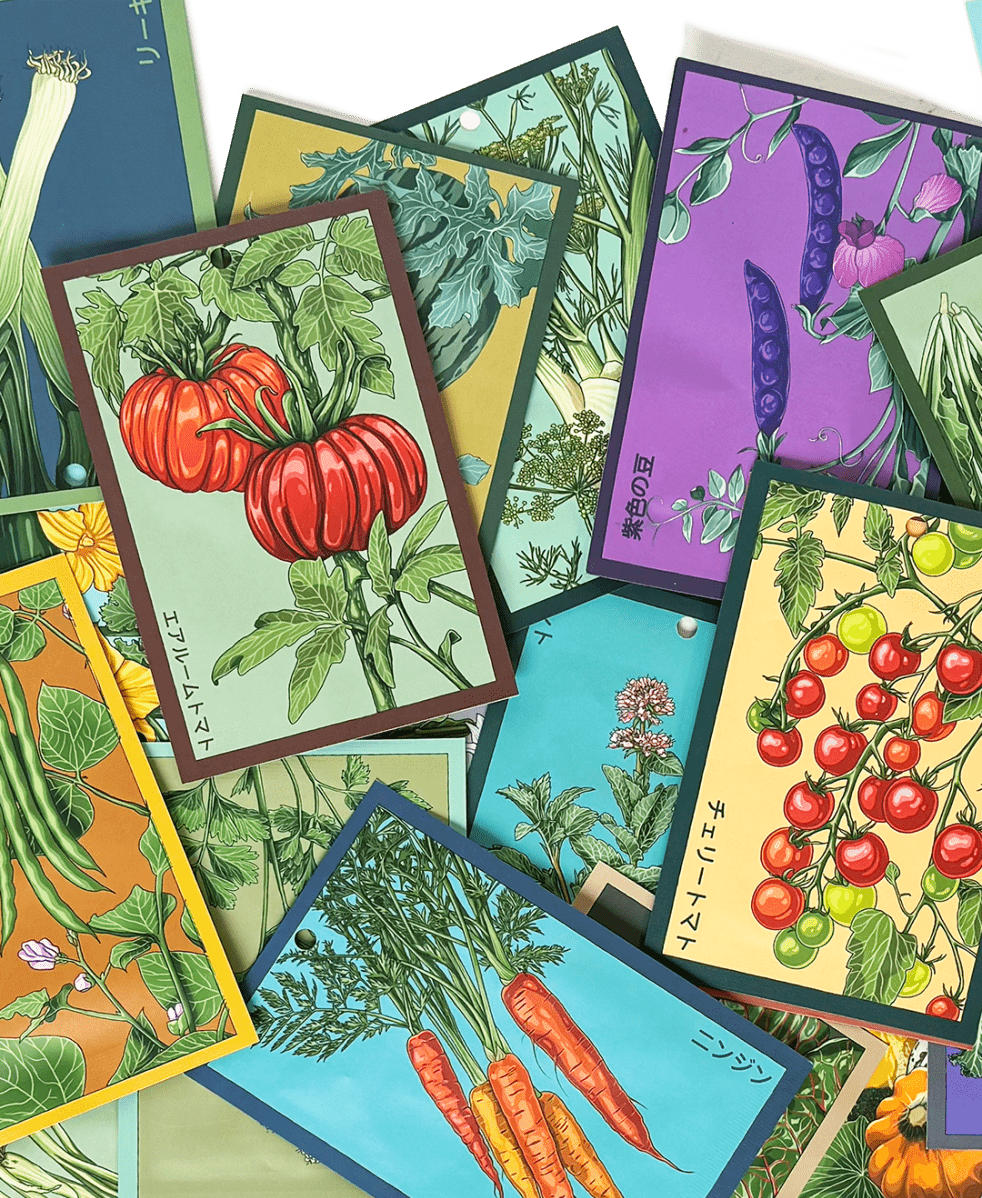
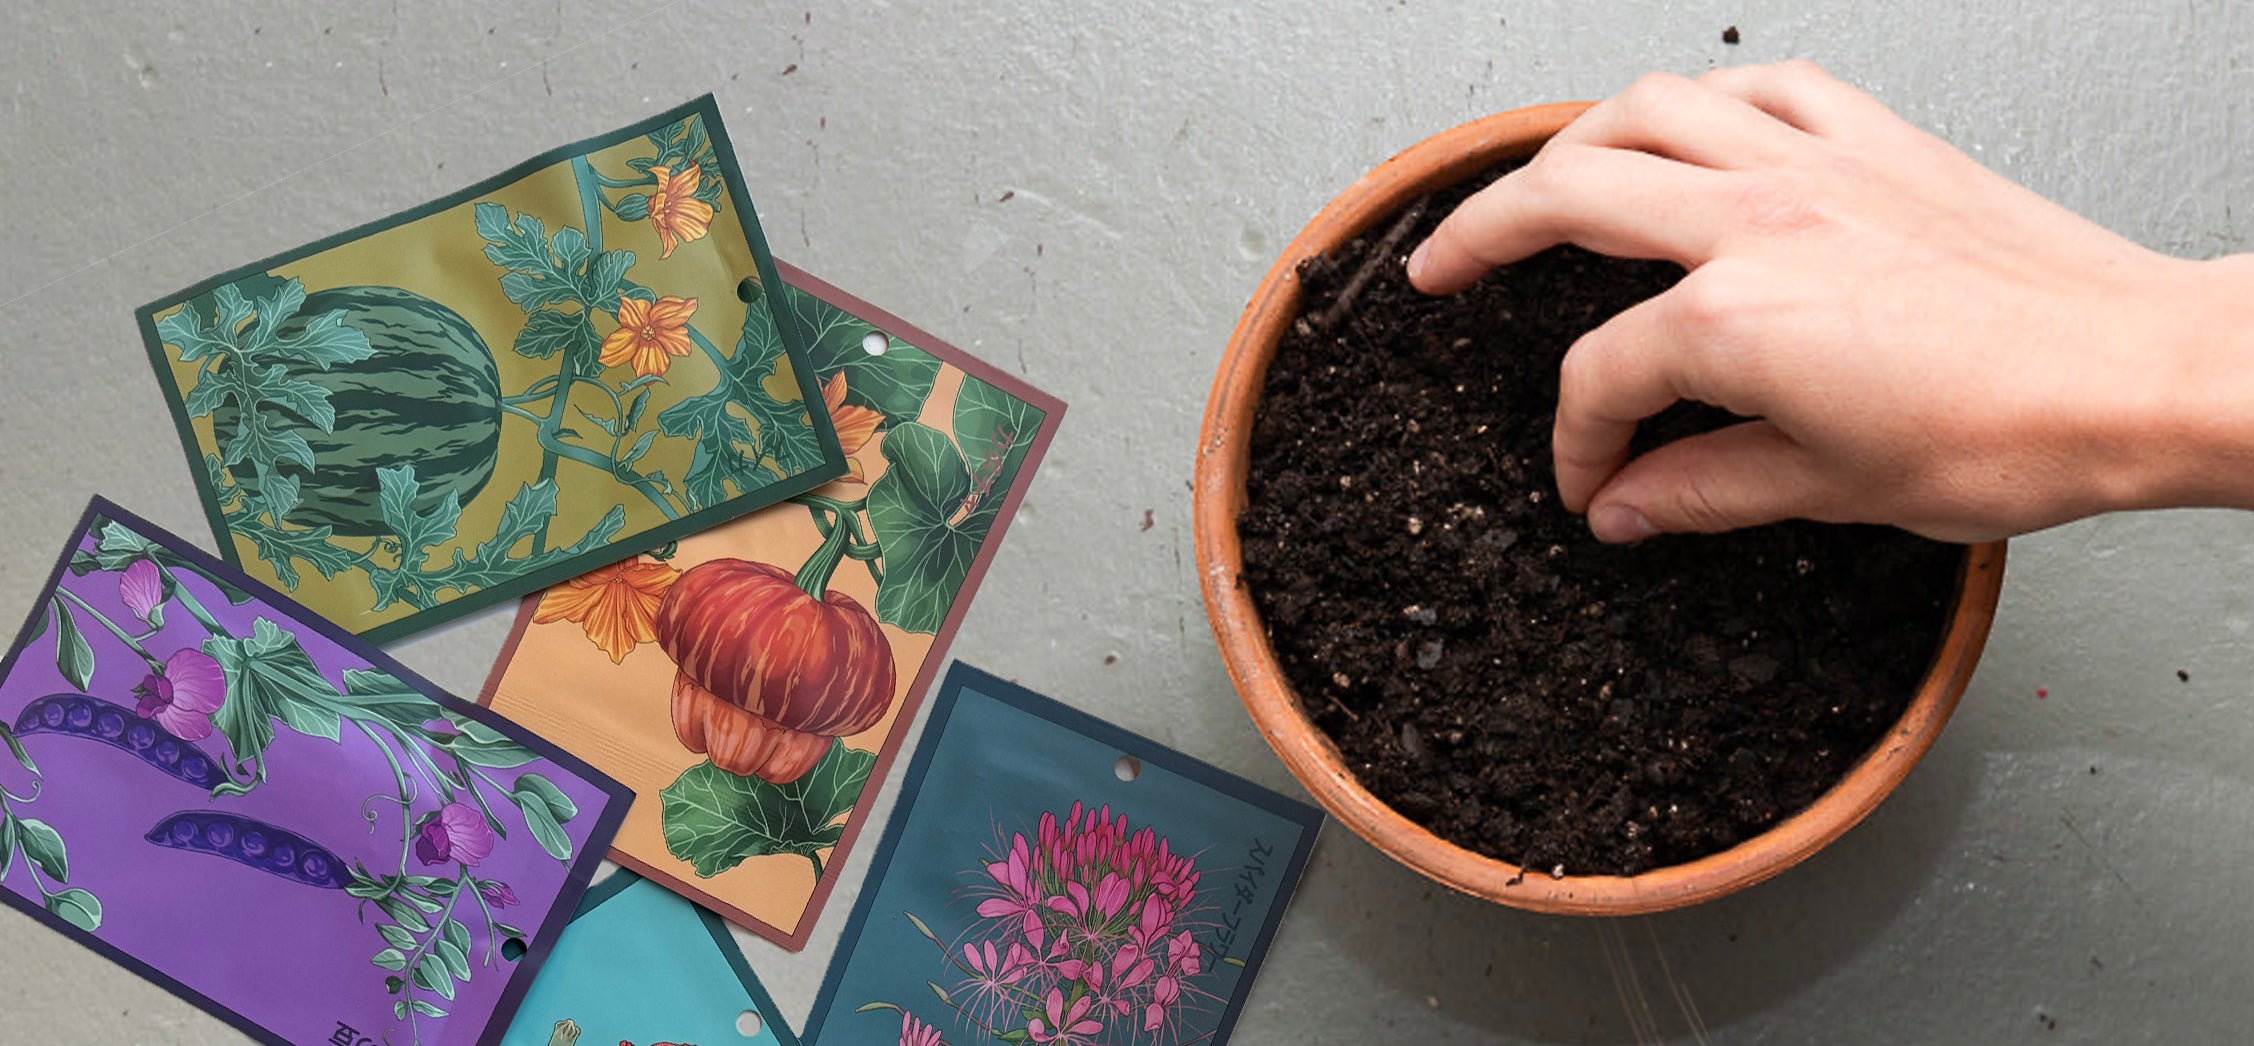
Keep your Asparagus Fern lush by misting regularly and avoiding direct sunlight, especially during hot summer months. When repotting, divide large clumps to propagate more plants and keep growth manageable.

Complete Growing Guide

This comprehensive guide provides all the information needed to successfully grow from seeds to mature, thriving plants that will provide years of delicate, beautiful foliage for both indoor enjoyment and floral arrangements.

Seed Starting

Sowing Process:

  1. Container Preparation: Fill containers with moistened seed starting mix, leaving ½ inch from top.
  2. Seed Placement: Plant seed in spring, about one inch deep, spaced two to three inches apart (Note: For containers, ¼ inch depth is sufficient)
  3. Environmental Setup: Place the seed tray or pots in a bright, warm location that receives indirect sunlight
  4. Temperature Control: Maintain soil temperature at 70-80°F (21-27°C) for optimal germination
  5. Moisture Management: Keep soil consistently moist but not waterlogged using a spray bottle

Germination and Early Care

Germination Timeline: Seeds can take three weeks to germinate, though some sources indicate they may take even longer. Be patient and maintain consistent conditions.

Germination Conditions:

  • Temperature: 70-80°F (21-27°C)
  • Humidity: High (cover with plastic to maintain)
  • Light: Bright, indirect light
  • Moisture: Consistently moist soil

Post-Germination Care:

  1. Gradual Acclimation: Once seeds sprout, gradually remove plastic covering over several days
  2. Light Requirements: Provide bright, indirect light for 12-14 hours daily
  3. Watering: Continue with consistent moisture, avoiding both drought and waterlogging
  4. Temperature: Can reduce to normal room temperature (65-75°F)

Seedling Development

First Month:

Seedlings will develop their first true leaves (different from seed leaves)

Growth may appear slow initially as energy goes to root development

Continue misting to maintain humidity around young plantsTransplanting Readiness: Once the seedlings have grown several leaves and have a sturdy root system, they are ready to be transplanted into individual pots or into the garden

Transplanting Process:

  1. Container Size: Move to 3-4 inch pots initially
  2. Soil Mix: Use well-draining potting mix with organic matter
  3. Handling: Handle seedlings carefully by leaves, not stems
  4. Aftercare: Provide extra humidity for first week after transplanting

Container Growing Pot Selection:

  • Start with 4-6 inch pots for young plants
  • Mature plants need 8-12 inch containers minimum
  • Ensure excellent drainage with multiple holes
  • Hanging baskets work well for cascading effect

Potting Mix Recipe:

  • 40% high-quality potting soil
  • 30% peat moss or coconut coir
  • 20% perlite or vermiculite
  • 10% compost or aged manure

Container Care:

  • Check soil moisture more frequently than ground plants
  • Fertilize more regularly due to nutrient leaching
  • Repot annually or when root-bound
  • Provide adequate drainage saucers
  • Outdoor Planting (Warm Climates Only)

Climate Requirements:

  • USDA Hardiness Zones 9-11 for year-round outdoor culture
  • Cooler climates: treat as annual or bring indoors in winter

Site Preparation:

  1. Location: Choose partially shaded area with protection from harsh sun
  2. Soil Amendment: Work in compost and organic matter to improve drainage
  3. Spacing: Plant 12-18 inches apart to allow for spreading growth
  4. Mulching: Apply 2-3 inches of organic mulch around plants

Planting Process:

  • Plant after soil warms to at least 60°F (15°C)
  • Dig holes same depth as container, twice as wide
  • Water thoroughly after planting
  • Provide temporary shade for first week
Long-term Care

Watering Practices:

  • Keep the soil consistently moist and to provide the seedlings with adequate light
  • Water when top inch of soil feels dry
  • Reduce frequency in winter months
  • Use room temperature water to avoid shocking roots

Fertilization Program:

  • Growing Season: Balanced liquid fertilizer (20-20-20) at half strength every 2-4 weeks
  • Winter: Reduce or eliminate fertilizing
  • Organic Options: Fish emulsion or compost tea monthly
  • Signs of Over-fertilizing: Excessive soft growth, reduced foliage density

Humidity Management:

  • Maintain 50-60% humidity around plants
  • Use humidity trays filled with pebbles and water
  • Group plants together to create microclimate
  • Mist foliage regularly but avoid overwatering soil
  • Harvesting and Using Foliage

Cutting for Arrangements:

  • Harvest stems year-round for fresh arrangements
  • Cut stems at base rather than halfway up
  • Best cutting time: early morning when stems are fully hydrated
  • Stems last 1-2 weeks in arrangements with proper care

Foliage Care:

  • Place cut stems immediately in cool water
  • Trim stem ends under running water
  • Use floral preservatives to extend vase life
  • Mist cut foliage lightly to maintain freshness

Propagation Methods

Division (Primary Method): Simply divide the rootball into two or more sections, each with a piece of root, and pot into individual pots

  • Best done in spring during repotting
  • Each division needs roots and growing points
  • Allow divisions to establish before normal care

Seed Collection:

  • Allow some plants to flower and set seed
  • Collect ripe berries when they turn red or black
  • Remove seeds from pulp and dry thoroughly
  • Store in cool, dry place until planting time

Seasonal Care Guide

Spring (March-May):

  • Increase watering and fertilizing frequency
  • Repot root-bound plants
  • Begin regular growth monitoring
  • Start new plants from seed

Summer (June-August):

  • Maintain consistent moisture levels
  • Provide extra humidity during hot weatherMonitor for pest activity
  • Harvest foliage for arrangements

Fall (September-November):

  • Reduce fertilizing frequency
  • Prepare outdoor plants for temperature changes
  • Collect seeds from mature plants
  • Begin reducing water frequency

Winter (December-February):

  • Reduce watering to minimal levels
  • Eliminate or greatly reduce fertilizing
  • Maintain humidity with heating systems running
  • Monitor for spider mites in dry indoor conditions
Troubleshooting Common Issues

Slow or Poor Germination:

  • Causes: Old seeds, inadequate scarification, wrong temperature, poor soil drainage
  • Solutions: Use fresh seeds, proper pre-treatment, maintain optimal temperature

Yellowing Foliage:

  • Causes: Overwatering, underwatering, low light, natural aging, nutrient deficiency
  • Solutions: Adjust watering practices, improve lighting, fertilize appropriately

Brown Leaf Tips:

  • Causes: Low humidity, fluoride in water, over-fertilizing, dry air
  • Solutions: Increase humidity, use filtered water, reduce fertilizer concentration

Leggy Growth:

  • Causes: Insufficient light, over-fertilizing with nitrogen
  • Solutions: Increase light exposure, reduce nitrogen fertilizer, prune back
  • Poor Root Development: Causes: Overwatering, poor drainage, compacted soil

Pro Tip

Keep your Asparagus Fern lush by misting regularly and avoiding direct sunlight, especially during hot summer months. When repotting, divide large clumps to propagate more plants and keep growth manageable.

Getting to know your Asparagus Fern

Asparagus Fern seeds are small, round, and hard-coated, typically measuring 2-3mm in diameter. They have a dark black or deep purple coloration when fully mature, with a glossy, almost metallic appearance. The seeds possess a tough, impermeable seed coat that requires scarification or soaking to improve germination rates. Each seed contains a small embryo surrounded by nutritious endosperm. Fresh seeds have the highest viability, but properly stored seeds can remain viable for 2-3 years. The hard seed coat is an adaptation that allows the seeds to survive harsh conditions in their native habitat.

What it's used for

Indoor Applications:

  • Houseplant for bright, indirect light locations
  • Hanging basket specimen for cascading effect
  • Table centerpieces and decorative arrangements
  • Air purification (removes formaldehyde and xylene)
  • Victorian-style conservatory plantings
  • Terrarium component for larger enclosures

Outdoor Applications:

  • Shade garden groundcover in warm climates (USDA zones 9-11)Container gardening on patios and decks
  • Seasonal outdoor decoration in cooler climates

Floral and Craft Uses:

  • Cut foliage for floral arrangements and bouquets
  • Wedding decorations and event styling
  • Dried arrangements and craft projects
  • Botanical photography subject

Garden Benefits:

  • Attracts beneficial insects when flowering
  • Provides habitat for small wildlife
  • Low maintenance once established
  • Long-lasting indoor plant with proper care
Growth Requirements

Temperature:

  • Optimal growing range: 65-75°F (18-24°C)
  • Asparagus Fern seeds germinate best in warm temperatures of around 70-80°F (21-27°C)
  • Minimum tolerance: 50°F (10°C)
  • Cannot tolerate frost or freezing temperatures
  • Prefers consistent temperatures without extreme fluctuations

Light:

  • Asparagus Fern prefers medium to bright indirect light but can tolerate low light. While it thrives
  • and grows more vigorously in brighter conditions
  • Asparagus Fern seeds need light to germinate, but direct sunlight can be too harsh and damage
  • the delicate seedlings
  • Indoor: 4-6 hours of
  • bright, indirect light daily
  • Outdoor: Partial shade to filtered sunlight
  • Avoid direct, harsh sunlight which can scorch foliage

Soil:

  • Well-draining potting mix or garden soil
  • pH range: 6.5-7.0 (slightly acidic to neutral)
  • Rich in organic matter with good aeration
  • Container mix: equal parts peat moss, vermiculite, and perlite
  • Garden soil: amended with compost and organic matter

Water:

  • Consistent moisture but not waterlogged
  • Allow soil to dry slightly between waterings
  • Higher humidity preferred (50-60%)
  • Reduce watering in winter months
  • Use room temperature water

Humidity:

  • Prefers 50-60% relative humidity
  • Benefits from humidity trays or regular misting
  • Group with other plants to increase local humidity
  • Use pebble trays filled with water under containers
Maintenance

Daily Tasks:

  • Monitor soil moisture levels
  • Check for adequate humidity
  • Observe for pest activity

Weekly Tasks:

  • Deep watering when soil surface feels dry
  • Mist foliage to increase humidity
  • Remove any yellowing or dead fronds
  • Rotate plants for even growth

Monthly Tasks:

  • Fertilize during growing season (spring/summer)Check for root binding in containers
  • Prune overgrown or damaged stems
  • Clean dust from foliage

Seasonal Tasks:

  • Spring: Repot if needed, increase watering and fertilizing
  • Summer: Maintain consistent moisture, provide extra humidity
  • Fall: Reduce fertilizing, prepare for slower growth
  • Winter: Reduce watering frequency, maintain humidity

Fertilizing Schedule:

Growing season (spring/summer):

  • Balanced liquid fertilizer (10-10-10) diluted to half strength
  • every 2-4 weeks

Winter:

  • Reduce or eliminate fertilizing
  • Organic options: Compost tea or fish emulsion monthly
  • Avoid over-fertilizing which can cause excessive, weak growth

Pruning and Grooming:

  • A few yellow fronds at the base is normal – these are old leaves and can be cut off
  • Cut stems at soil level rather than halfway
  • Remove spent flowers to encourage foliage growth
  • Trim wayward growth to maintain shape
  • Use clean, sharp scissors to prevent disease transmission
Pests and Diseases

Common Pests:

Spider Mites

  • Identification: Fine webbing on foliage, stippled leaves, tiny moving specks
  • Treatment: Increase humidity, insecticidal soap spray, predatory mites
  • Prevention: Maintain adequate humidity, regular misting, good air circulation

Scale Insects

  • Identification: Small, brown or white bumps on stems and leavesTreatment: Rubbing alcohol on cotton swabs, systemic insecticide
  • Prevention: Regular inspection, quarantine new plants, maintain plant health

Mealybugs

  • Identification: White, cottony masses on stems and leaf joints
  • Treatment: Alcohol treatment, insecticidal soap, beneficial insects
  • Prevention: Proper spacing, avoid overwatering, regular monitoring

Aphids

  • Identification: Small, soft-bodied insects clustering on new growth
  • Treatment: Insecticidal soap, horticultural oil, beneficial insects
  • Prevention: Adequate air circulation, avoid over-fertilizing

Common Diseases:

Root Rot

  • Symptoms: Overwatering: The most common cause is overwatering or poor drainage leading to root rot. Ensure the soil dries out between waterings
  • Treatment: Reduce watering, improve drainage, repot in fresh soil
  • Prevention: Well-draining soil, proper watering practices

Yellowing Foliage

  • Symptoms: More widespread yellowing could have a number of causes, so some detective work may be needed
  • Causes: Overwatering, underwatering, low humidity, poor light, natural aging
  • Treatment: Adjust care practices based on specific cause
  • Prevention: Consistent care routine, proper environmental conditions

Fungal Issues

  • Symptoms: Brown spots on foliage, musty odors, wilting
  • Treatment: Improve air circulation, reduce humidity on foliage, fungicidal treatments
  • Prevention: Avoid overhead watering, ensure good drainage, proper spacing

Integrated Pest Management:

  • Regular inspection and early detectionQuarantine new plants for 2-3 weeks
  • Maintain optimal growing conditions to promote plant health
  • Use sharp and clean tools to prevent disease transmission
  • Natural predators and beneficial insects when possible

Growing Together with Shido

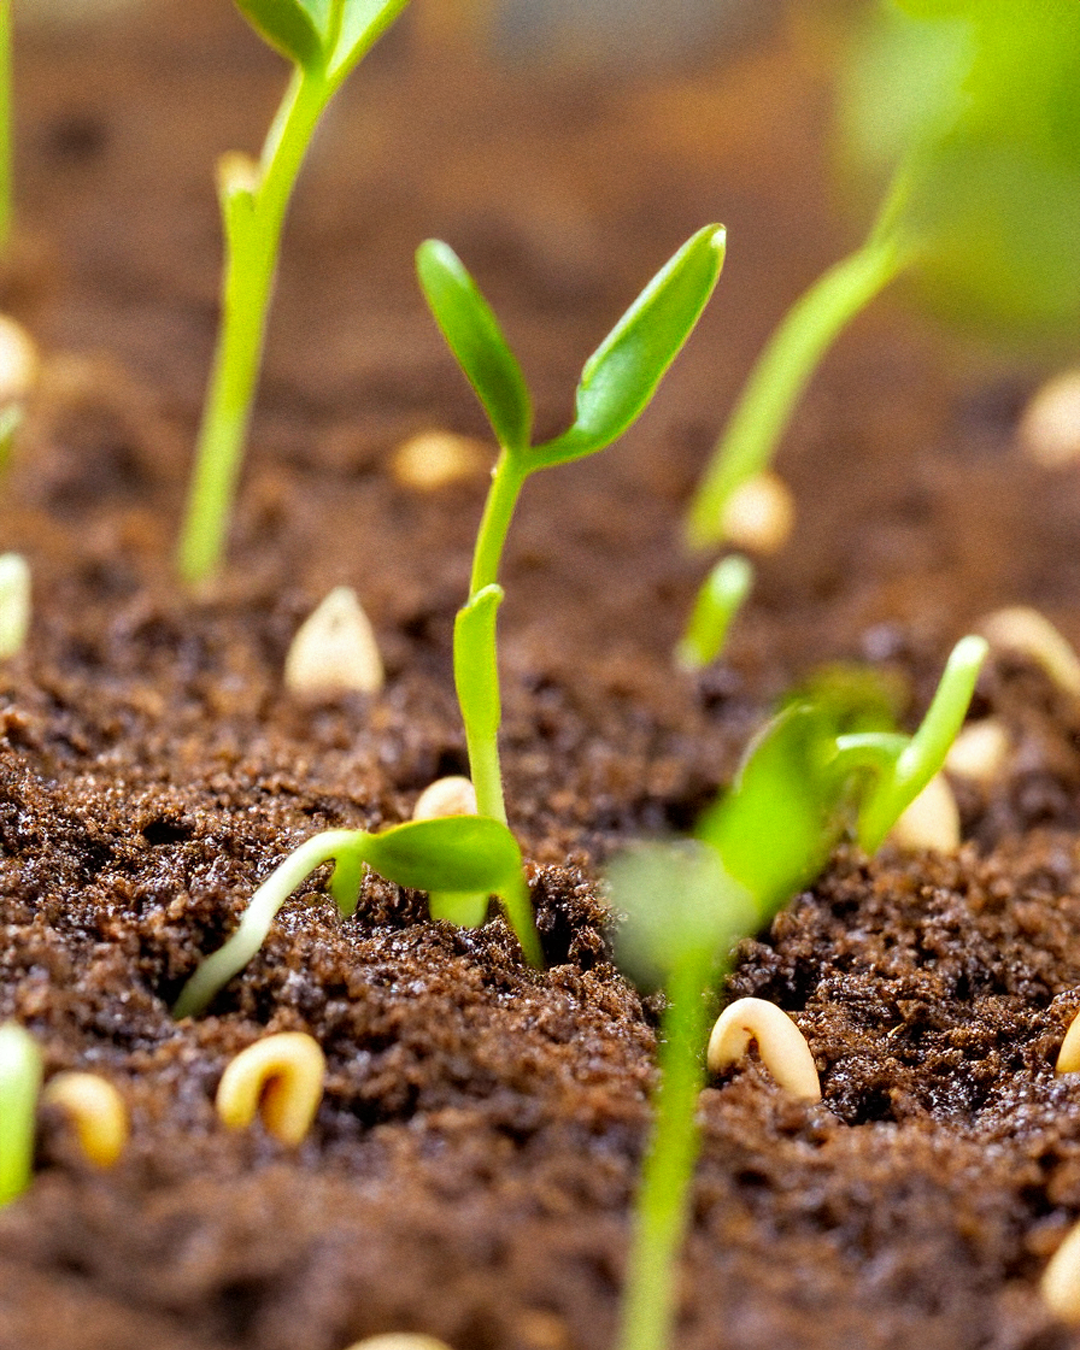
At Shido, everything we do starts with one goal: helping you have a truly successful growing experience. We know that planting seeds is just the beginning — your time, energy, and love for gardening are the real magic. That’s why we make sure the seeds you plant are fresh, full of life, and top-quality. When you choose Shido, you’re planting with confidence. We guarantee it.

Our mission is simple: bring you exceptional varieties of high-quality seeds at prices you’ll love, share detailed sowing and growing tips so you can thrive as a home gardener, and deliver the best customer service in the industry, with a smile.

Our Seed Safety Promise

We donotsell genetically modified seeds — ever. And we don’t use genetic engineering to breed new varieties. Instead, our skilled breeders use traditional, natural crossing methods to create hybrid seeds that are healthy, safe, and packed with potential.

Our Seed Quality Guarantee

At Shido, we believe great gardens start with great seeds — and that means quality comes first. Every seed lot we offer is ensure to generate top-notch germination because your garden deserves nothing less.

To keep our seeds at their peak, we run thorough pathology tests at trusted outside labs. When you open a Shido seed packet, you can trust it’s been nurtured, tested, and approved to give you strong, healthy plants from the very first sprout.

Types of Seeds We Offer

Open-Pollinated & Heirloom Seeds

Our open-pollinated (OP) seeds naturally reproduce through wind, insects, water, or self-pollination. When grown in isolation, they produce true-to-type plants year after year.

Among our OP seeds are treasured heirloom varieties — old favorites that have been carefully passed down for generations. While OP plants can be less uniform than hybrids, we run our Open-Pollinated Project to select the most reliable, flavorful, and beautiful strains.

Non-GMO: What It Means and Why It Matters

GMO (Genetically Modified Organism) is created when scientists alter a plant’s DNA in a lab — often by inserting genes from completely unrelated species — to achieve certain traits, like pest resistance or herbicide tolerance. This is a far cry from natural plant breeding.

At Shido, we believe gardening should stay as close to nature as possible. All our seeds — whether hybrid, heirloom, organic, or open-pollinated — are Non-GMO. They’re bred using traditional methods that respect natural biodiversity, giving you safe, wholesome seeds that grow into plants just as nature intended.

When you plant Shido Non-GMO seeds, you’re choosing purity, sustainability, and peace of mind — along with a garden full of flavor, color, and beauty.

Vacuum-Sealed for Freshness — Good for 10 Years

Every Shido seed packet isvacuum-sealedto lock in freshness and protect your seeds from moisture, air, and pests. This careful packaging not only preserves their quality but also extends their shelf life dramatically. Stored properly in a cool, dry place, our seeds remain viable for up to 10 years— so you can plant them now, next season, or even years down the road. Whether you’re planning a garden this spring or building a long-term seed stash, Shido seeds are ready when you are.


Feed Your Plants Like You Actually Know What You’re Doing

Your plants called—they're tired of your "just water and hope" approach. Give them VerteRx, the premium plant food packed with vitamins and growth boosters. Stronger roots, lusher leaves, and fewer judgmental stares from your fiddle-leaf fig. Because even plants deserve proper nutrition (unlike your diet).

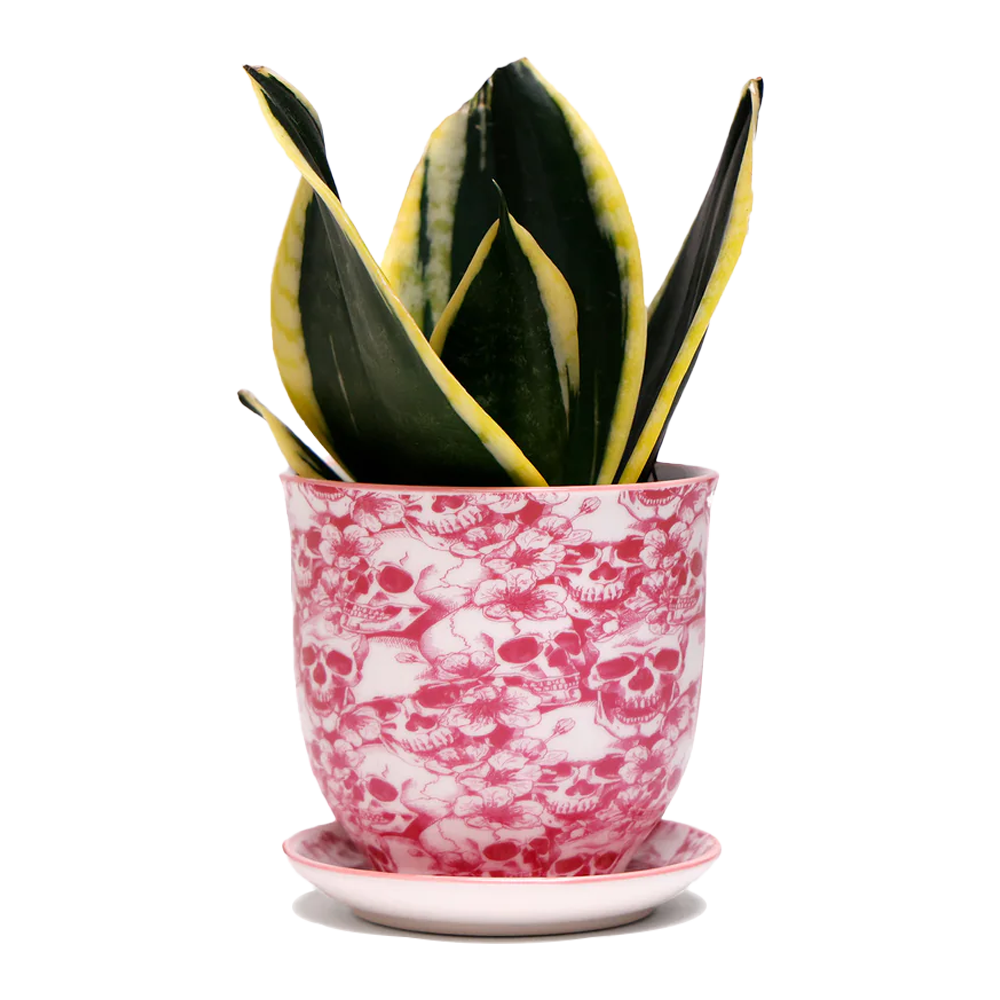
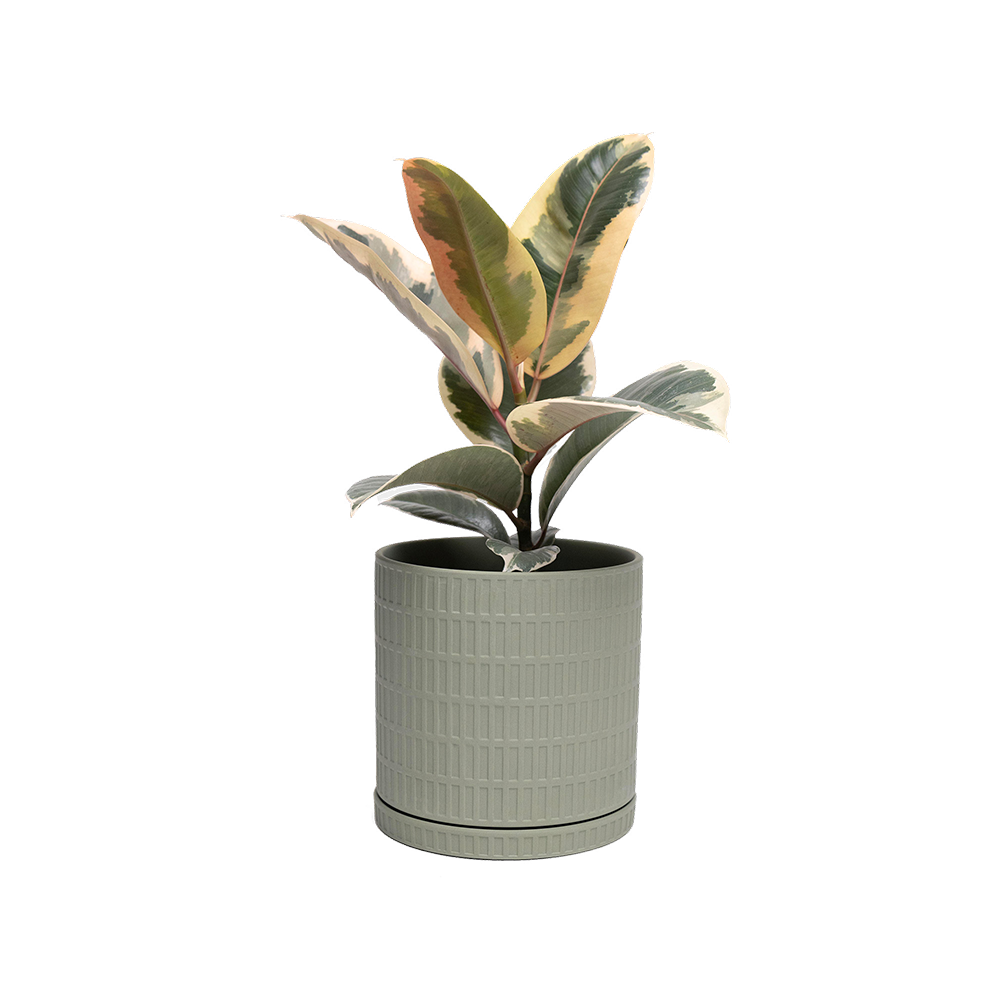
Pretty Pots for Pretty Plants

Your plants work hard to look good—shouldn’t their pots do the same? Choose from our gorgeous flower pots and let your greenery thrive in style. Because plain plastic is just rude.